How to Use a Light Meter at Home
Light meters are indispensable tools for anyone aiming to elevate their photography or optimize the lighting in their home.
This article will help you grasp the concept of light meters, explore their various types, and understand how they function.
You ll discover the advantages of using a light meter in your home and learn the precise steps to take accurate readings.
It also guides you on interpreting those readings, troubleshooting common issues, and maintaining your light meter to keep it in peak condition.
Whether you re a photography enthusiast or simply seeking better lighting, this guide is tailored just for you.
Contents
- Key Takeaways:
- Understanding Light Meters
- Why Use a Light Meter at Home?
- How to Use a Light Meter
- Interpreting Light Meter Readings
- Troubleshooting Common Issues
- Tips for Accurate Readings
- Light Meter Maintenance and Care
- Frequently Asked Questions
- Can I use a light meter at home even if I’m not a professional photographer?
- Do I need any special equipment to use a light meter at home?
- How do I use a light meter to determine the correct exposure for my photos?
- What is the difference between an incident light meter and a reflective light meter?
- Can I use a light meter at home for both natural and artificial lighting?
- Is there a difference in using a light meter for digital versus film photography?
Key Takeaways:
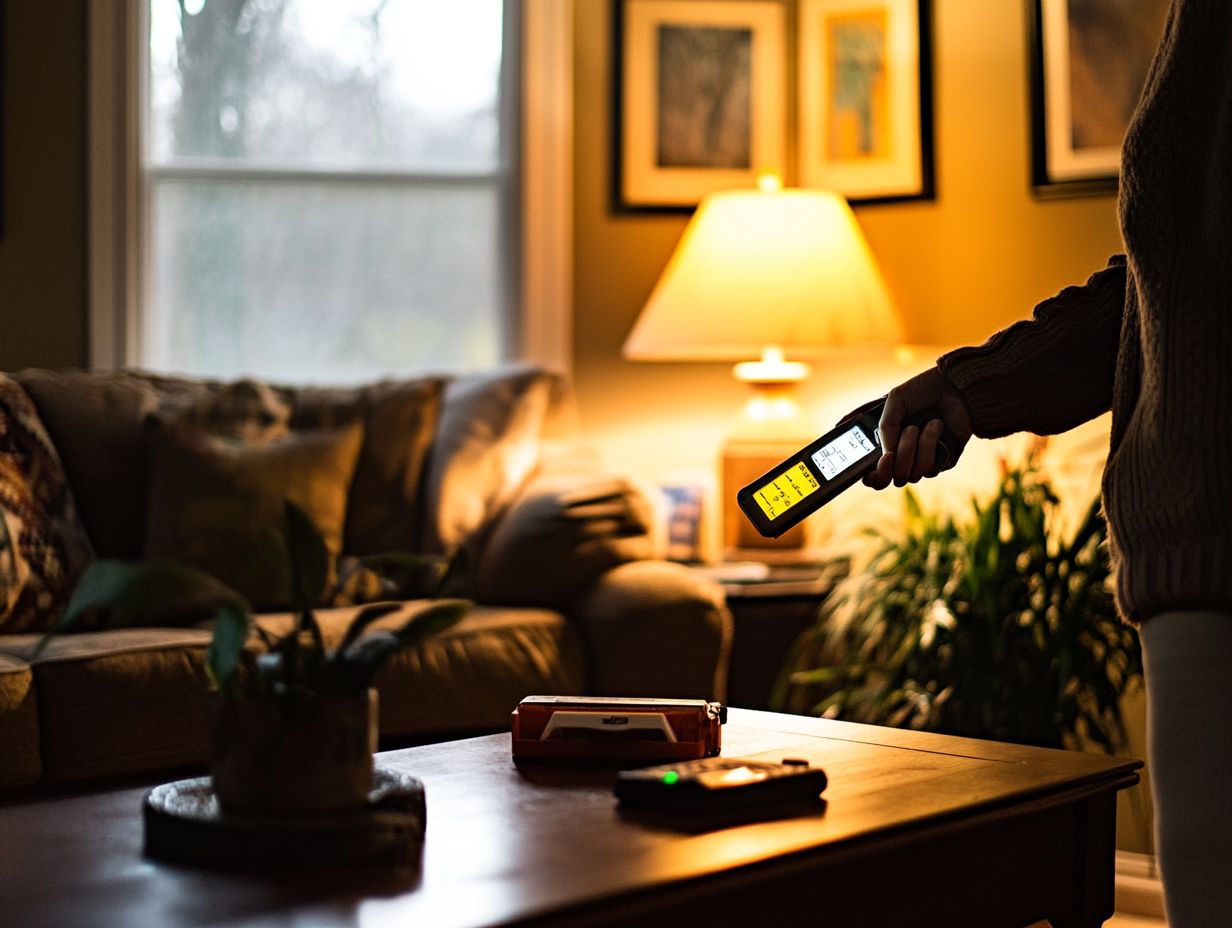
- Learn the basics of light meters for effective home use.
- Improve your photography with accurate lighting.
- Follow steps to interpret readings for perfect exposure.
Understanding Light Meters
Understanding light meters is essential for anyone passionate about photography, whether you’re a budding enthusiast or a seasoned professional. These instruments are pivotal in achieving optimal exposure across various subjects and lighting conditions.
By accurately measuring light intensity, a handheld light meter enables you to fine-tune your camera settings. This ensures that your exposure value aligns perfectly with your creative vision be it for studio flash photography or capturing the nuances of ambient light scenes.
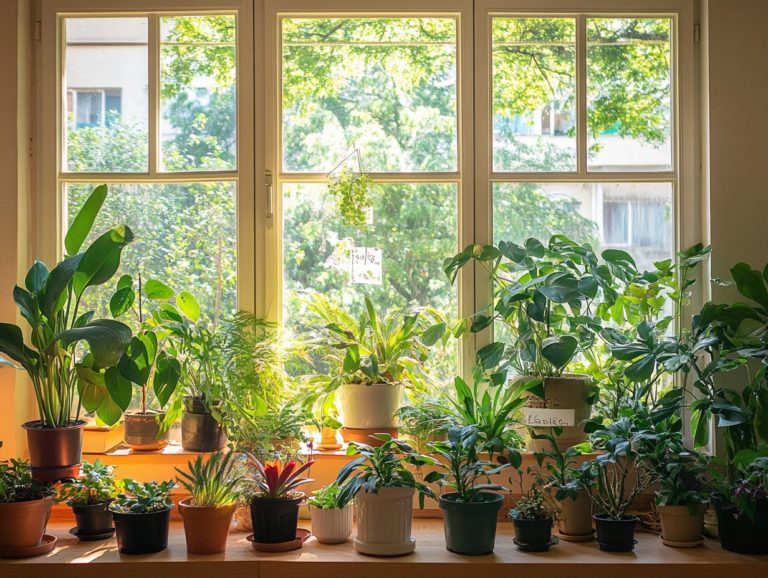
This knowledge not only elevates your photography skills but also proves invaluable in plant care. It allows you to assess and meet the light requirements for your houseplants and other greenery with confidence.
What is a Light Meter and How Does it Work?
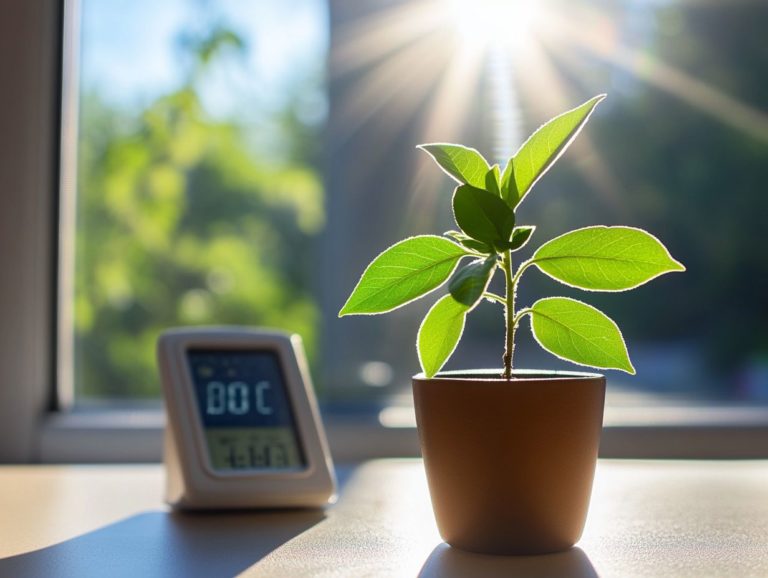
A light meter is a critical tool for your photography arsenal. It measures the light in any given scene, enabling you to make informed decisions about important camera settings like aperture (the size of the opening in your lens), shutter speed (how long the camera’s shutter is open), and ISO (the sensitivity of your camera’s sensor to light).
By employing light-sensitive cells, this device precisely gauges the intensity of incoming light an essential factor for achieving proper exposure. These sensors are typically crafted from materials such as silicon or cadmium sulfide, which convert light photons into electrical signals.
The device shows you an electronic reading. This feedback helps you adjust your camera settings for the best image quality. Accurate exposure readings are crucial in photography; they can mean the difference between an underexposed shot that loses detail in shadows and an overexposed image that washes out highlights. This ultimately influences the visual impact of your photographs.
Types of Light Meters
You ll find various types of light meters, each meticulously crafted to meet specific photography needs and scenarios. Whether it s reflected metering, incident metering, or spot metering, each one plays a vital role in achieving optimal exposure and can dramatically influence the final results of your images, as well as the growth environments for plants.
- Reflected metering measures the light bouncing off your subject, making it perfect for capturing scenes that are well-lit.
- Incident metering assesses the light that directly hits the subject, offering a more precise exposure in diverse lighting conditions.
- Spot metering hones in on a small area, making it ideal for those high-contrast situations where precision is key.
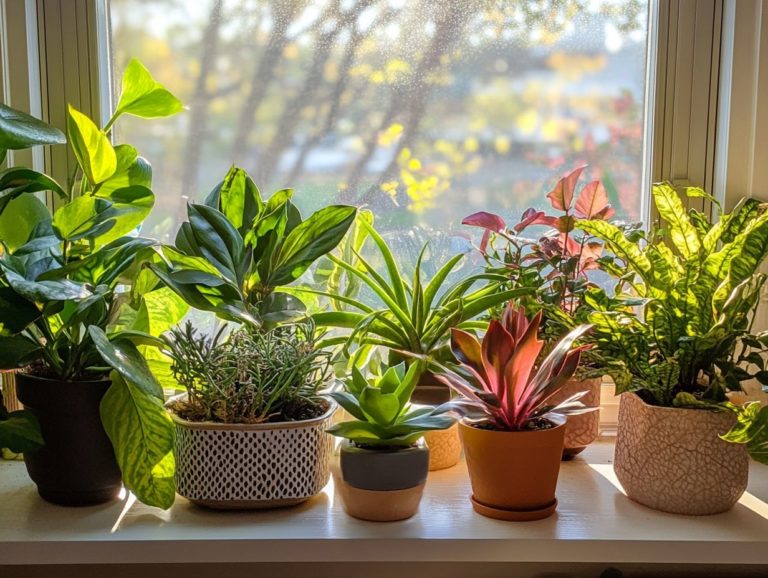
In terms of plant care, employing a light meter can be invaluable. It helps you determine the optimal lighting conditions for various species, ensuring they receive just the right amount of light for robust growth and development.
Why Use a Light Meter at Home?
Utilizing a light meter in your home can significantly elevate your photography and improve general lighting conditions. This essential tool offers you precise control over light exposure and consistency, making it invaluable for both photographers and homeowners.
Get ready to elevate your photography with a light meter! With this tool, you can achieve that perfect balance of light, transforming your spaces and capturing stunning images with ease.
Benefits for Photography and Home Lighting
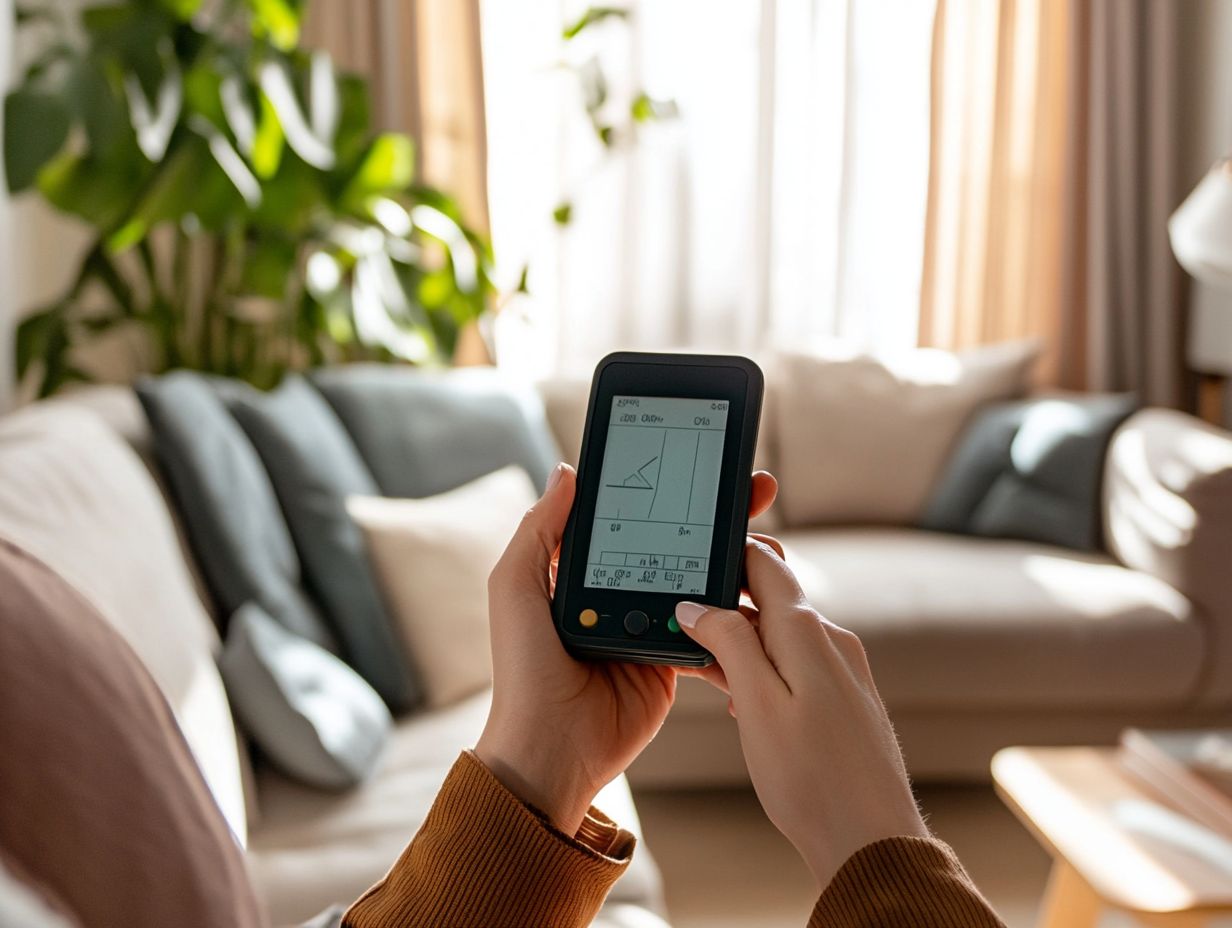
Light meters do much more than just help with exposure. They play a crucial role in enhancing ambient light conditions and ensuring precise lighting adjustments across various environments.
In photography, both enthusiasts and professionals can elevate their craft by measuring and adapting to ambient light. This leads to breathtaking images that capture the intended mood and intricate details. A light meter enables you to maintain consistent exposure, removing the uncertainty that often accompanies changing lighting scenarios whether you re out on a sun-drenched day or navigating the complexities of indoor artificial lighting.
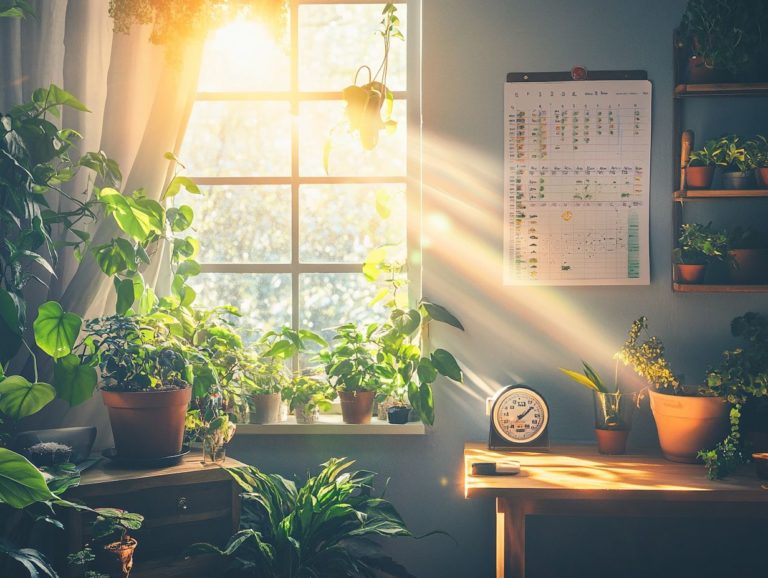
Homeowners can also benefit greatly, as these devices facilitate better management of natural light. This allows for strategic window placements and the incorporation of decorative elements that enhance the overall design while maximizing energy efficiency.
How to Use a Light Meter
Using a light meter effectively requires a step-by-step method that guarantees precise light measurement and thoughtful exposure adjustments. This simplifies your workflow and boosts your confidence in achieving great photography results.
Step-by-Step Guide
This guide will help you master the art of using a light meter, ensuring optimal photography exposure and precise camera settings.
Breaking down the process makes it easy for anyone to learn the essential techniques necessary for capturing stunning images in a variety of lighting conditions. Start by getting acquainted with the light meter’s functions. Learn how to measure ambient light, flash, and spot readings.
Next, carefully choose the mode that aligns with your specific photography scenario. Take light measurements at different points in your scene, making note of the readings.
With this valuable data, adjusting your camera’s aperture, shutter speed, and ISO will be a seamless process. Your newfound ability to interpret these readings will unlock the full potential of your photography equipment.
Interpreting Light Meter Readings
Understanding light meter readings is vital for every photographer. It profoundly affects your exposure values and the overall precision of your images in diverse lighting conditions.
Mastering this skill will transform your photography, ensuring that every shot reflects the vision you have in mind.
Understanding Exposure Values and Settings
Understanding exposure values is essential for you as a photographer. It enables you to make informed decisions about ISO settings, aperture, and shutter speed to achieve your desired photographic results.
By mastering these elements, you can skillfully manipulate the interplay between light and shadow in your images, resulting in breathtaking outcomes.
Each setting has a distinct role. For instance, aperture affects depth of field, letting you create crisp backgrounds or soft blurs. Shutter speed is your tool for capturing motion whether freezing action in an instant or crafting a soft, flowing effect.
ISO controls how sensitive your camera is to light, which becomes particularly crucial in low-light situations.
When combined, these components form the exposure triangle your key to unlocking creative photography!
Troubleshooting Common Issues
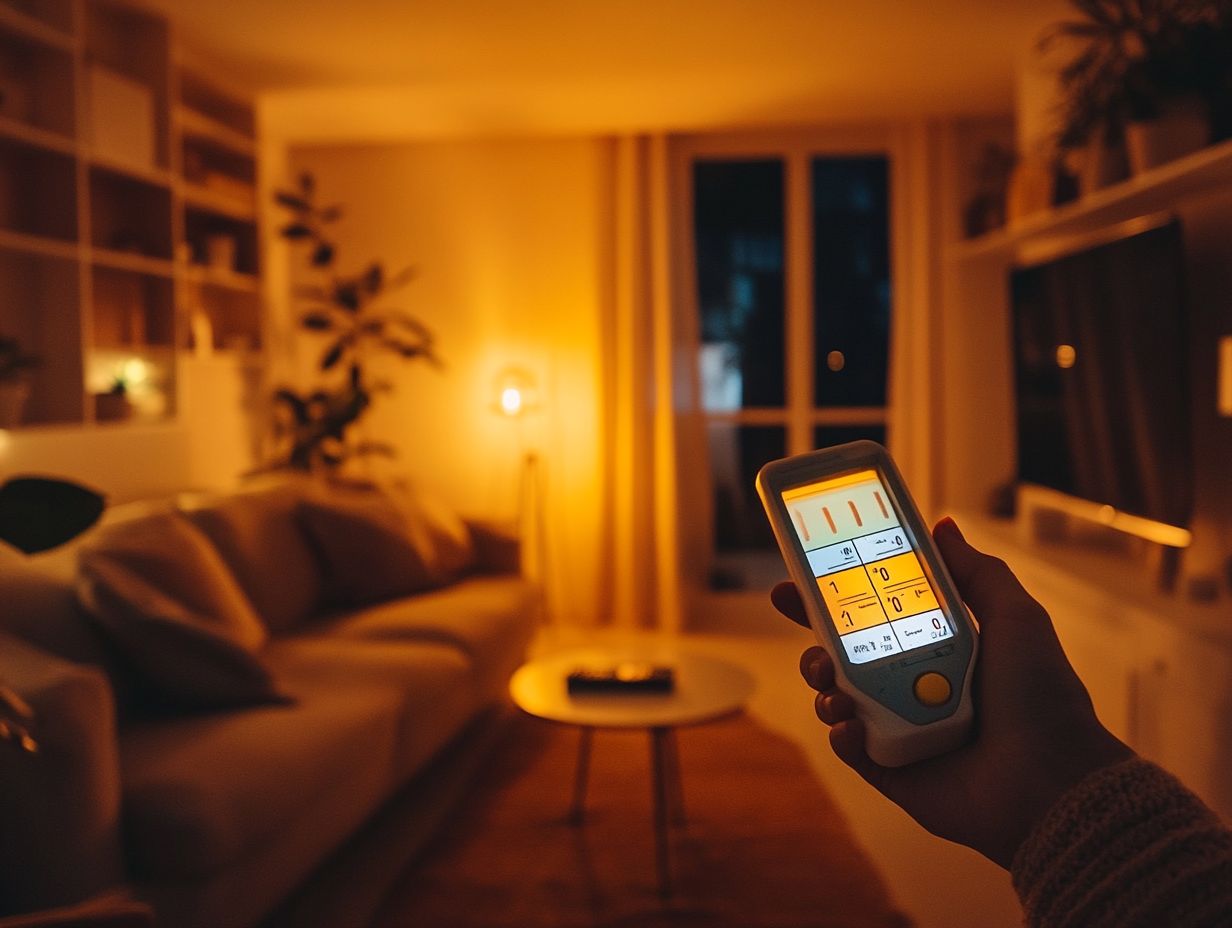
Addressing common light meter issues ensures accurate readings and optimal performance in diverse lighting conditions.
This diligence enables you to capture the best results in your photography, elevating the quality of your work and enhancing your creative vision.
Tips for Accurate Readings
To achieve accurate readings with a light meter, consider implementing several tips that will optimize performance during your photography sessions in various lighting conditions.
Carefully positioning the light meter is key. Make sure it faces the light source directly for precise readings. Calibration, which means adjusting the meter for accurate readings, is crucial, especially if the meter has endured physical trauma or extensive use.
Understanding the intricacies of light conditions like distinguishing between direct sunlight and shaded areas plays an essential role in obtaining your desired exposure. Be mindful of reflectivity from surrounding surfaces, as this can significantly affect the meter’s readings.
By using these tips, you can greatly enhance the accuracy and quality of your photography.
Light Meter Maintenance and Care
Maintaining your light meter is crucial for ensuring it stays in optimal condition. This guarantees precise readings for photography and various other applications. By prioritizing its upkeep, you ensure that your equipment performs at its best, enhancing your creative pursuits.
Keeping Your Light Meter in Top Condition
To keep your light meter in top condition, regular maintenance and specific care practices are essential. These steps will not only prolong its life but also enhance its accuracy.
- Store the meter in a protective case when not in use. This shields it from dirt, moisture, and potential impacts that could compromise its performance.
- Periodic calibration is essential; always check the manufacturer’s recommendations to maintain those precise readings you rely on.
- Regularly inspect the sensor and housing for signs of wear or damage. Even small alterations can affect its performance.
- Avoid extreme temperatures to preserve the durability of your device, ensuring it continues to deliver reliable performance across various lighting conditions.
Frequently Asked Questions
Can I use a light meter at home even if I’m not a professional photographer?
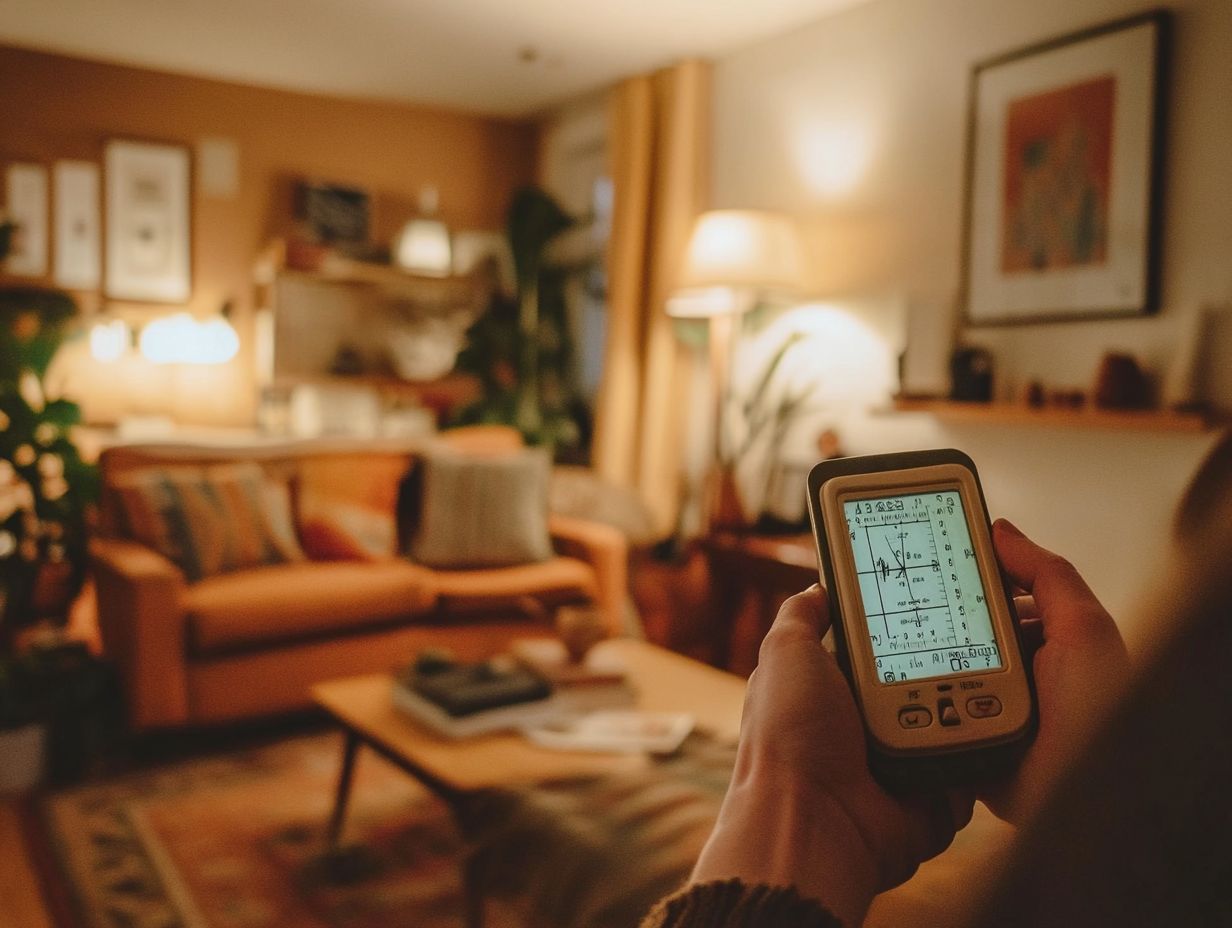
Yes, absolutely! A light meter is a useful tool for anyone looking to achieve accurate and consistent lighting in their photos.
Do I need any special equipment to use a light meter at home?
You will need a light meter, which can be purchased at most camera stores or online. A tripod can really help you capture those stunning shots!
How do I use a light meter to determine the correct exposure for my photos?
First, set your camera to manual mode. Point the light meter towards the subject you want to photograph and press the button to take a reading. Then, adjust your camera’s settings accordingly.
What is the difference between an incident light meter and a reflective light meter?
An incident light meter measures the light falling on the subject, while a reflective light meter measures the light reflected by the subject. Both can be used at home, but an incident light meter is often more accurate.
Can I use a light meter at home for both natural and artificial lighting?
Yes, a light meter can be used for both natural and artificial lighting. Simply adjust the settings on the meter accordingly.
Is there a difference in using a light meter for digital versus film photography?
While the principles of using a light meter are the same, the settings may vary slightly between digital and film photography. It’s best to consult your camera’s manual for specific instructions.

