How to Propagate Spider Plants
Spider plants are popular for their lush green leaves and ability to clean the air. They are a favorite among indoor plant lovers.
If you re looking to expand your collection or share these delightful plants with friends, mastering propagation techniques is essential. Get ready to discover exciting ways to propagate your spider plants!
This guide will cover various methods, including water and soil propagation, along with the necessary supplies and a detailed step-by-step process.
You ll also find insights on tackling common challenges such as root rot and pests, ensuring your spider plants flourish. Prepare to elevate your gardening game!
Contents
- Key Takeaways:
- What is Propagation?
- Methods of Propagating Spider Plants
- Introduction
- Supplies Needed for Propagation
- Step-by-Step Guide to Propagating Spider Plants
- Troubleshooting Common Issues
- Frequently Asked Questions
- Wondering if you can propagate spider plants in water?
- What is the best time of year to propagate spider plants?
- Do I need to use rooting hormone when propagating spider plants?
- How long does it take for spider plant cuttings to root?
- Can I propagate spider plants from just one leaf?
- Can I use the same potting mix for propagating spider plants as I do for mature plants?
Key Takeaways:
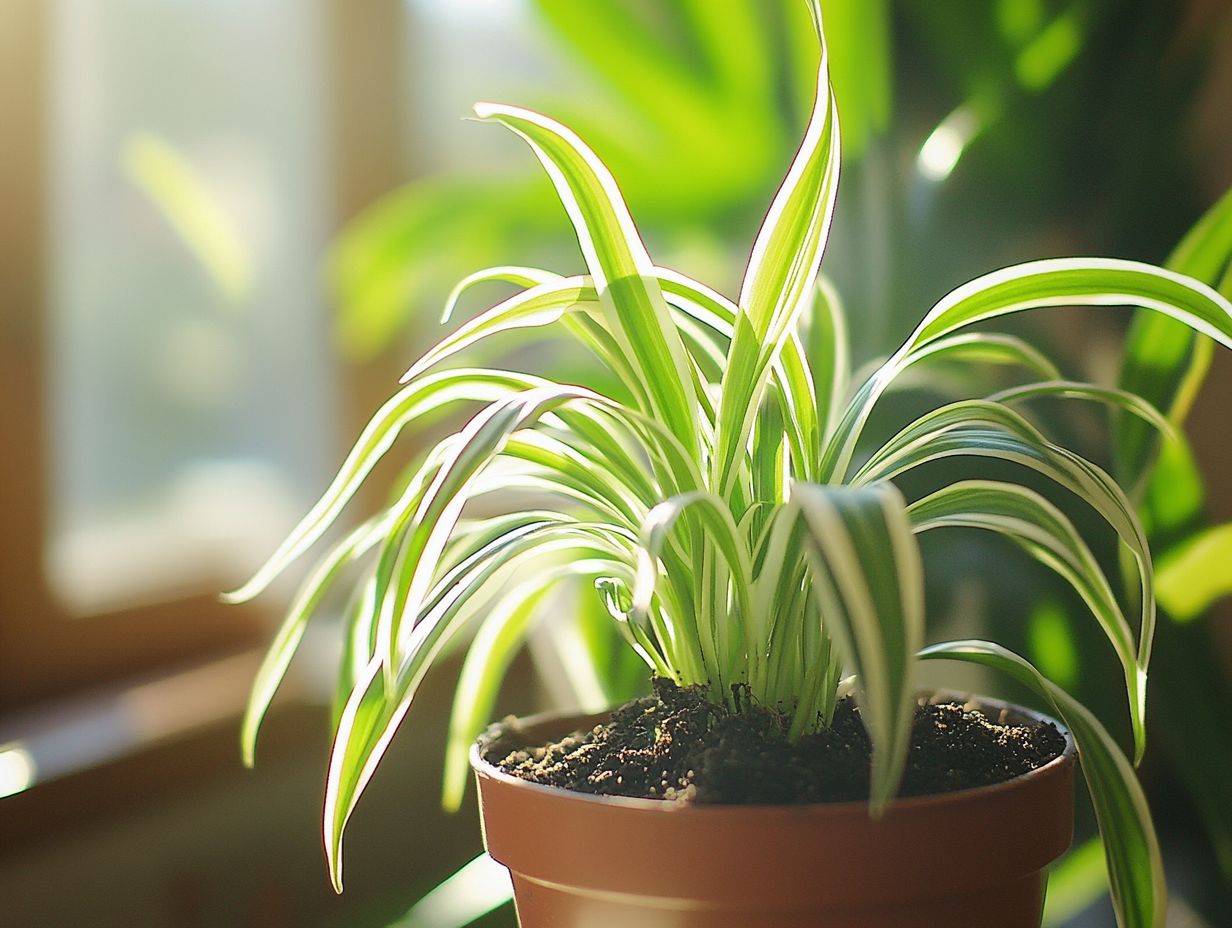
- Spider plants can be propagated easily using two methods: water propagation and soil propagation.
- To successfully propagate spider plants, you will need essential tools and materials such as a sharp knife, tap water without harmful chemicals, and lightweight potting mix.
- To avoid common issues like root rot and pests, properly prepare the plant and cuttings and provide proper care during the propagation process.
Start propagating today and enjoy your own spider plant army!
What is Propagation?
Propagation is the art of creating new plants from existing ones. This practice can truly enhance your indoor gardening experience. Imagine nurturing vibrant, healthy plants like the much-adored spider plant (Chlorophytum comosum).
This technique not only allows you to expand your collection of spider plant offspring, but it also immerses you in the rewarding journey of how to propagate your favorite houseplants. You’ll enhance your gardening expertise along the way.
By exploring the various methods of spider plant propagation, including the water propagation method and using the plant’s runners to create new plants, you can cultivate a flourishing indoor garden. Additionally, learning how to propagate succulents successfully can further enhance both the aesthetic charm of your space and the quality of the air you breathe.
Methods of Propagating Spider Plants
When propagating spider plants, you have several effective methods to ensure your spiderettes thrive and blossom into vibrant new plants. Whether you choose water or soil propagation, each technique presents unique advantages tailored to different growing conditions.
This allows you to select the best method that aligns with your gardening preferences and available resources. Mastering these propagation techniques enhances your gardening skills and helps cultivate a lush indoor environment teeming with flourishing greenery.
Water Propagation
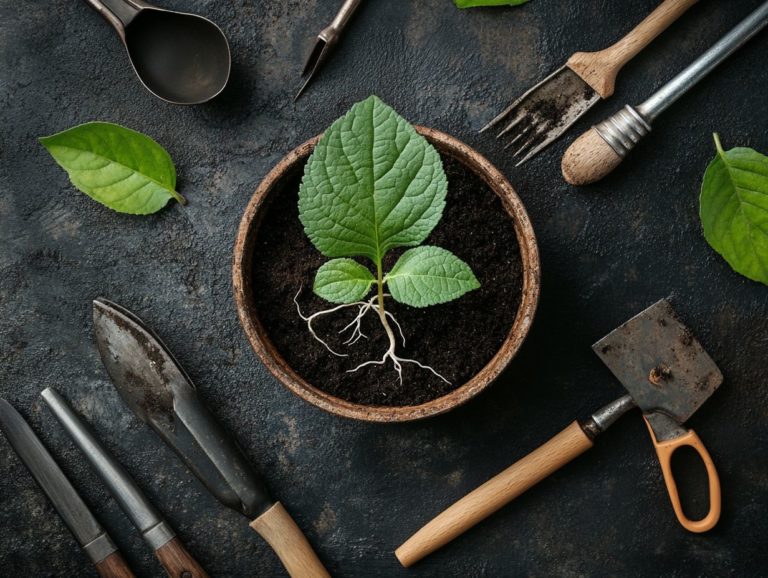
Water propagation is an incredibly popular and straightforward method for cultivating new spider plant babies. It allows you to witness the roots develop over time. Using a clear container filled with tap water without harmful chemicals, place your spider plant cuttings into the water, ensuring only the node those small bumps on the stem where roots can grow is submerged.
This approach not only offers a captivating visual but also enables you to monitor the growth of tiny roots on your spiderettes as they evolve into healthy plants. Selecting healthy cuttings from a mature spider plant is crucial; look for stems with several nodes. For those interested in similar propagation techniques, you can learn how to propagate ZZ plants. The cut should be clean and at least a few inches long to encourage robust growth.
As those cuttings begin to root, you may notice tiny roots on the cuttings after about a week. Remember to change the water weekly to keep it fresh and prevent any bacterial growth. Once the roots reach about two to three inches long, it’s time for the thrilling transition into soil.
Gently plant your rooted cuttings in well-draining potting mix, ensuring they receive adequate light and moisture to flourish in their new homes.
With these methods, you re ready to transform your space into a green sanctuary. Start propagating now and watch your plant family grow!
Introduction
Welcome to your guide on propagating spider plants. This guide will walk you through the process of creating new spider plant babies from existing spiderettes, ensuring you have all the essential information for success.
Soil Propagation
Soil propagation offers a robust method for cultivating spider plantlets. You can let them take root directly in a well-draining potting soil mix. Snip the runner that connects the spiderette to the parent plant. Then, plant the rooted spiderette in slightly moist soil. This technique mimics the natural environment that spider plants love. It promotes healthy and vibrant growth.
Prepare your potting soil by mixing equal parts peat, perlite, and compost. This combination ensures excellent drainage and lets your plants breathe. Before planting, check that the soil is just damp. Overly wet conditions could lead to root rot, which nobody wants. Once your cuttings are nestled in their new home, provide bright, indirect light and a warm environment. This will help enhance root development.
This patient approach yields flourishing new spider plants and fosters a deeper connection with the gardening process. It transforms propagation into a truly rewarding experience for gardening enthusiasts like you, especially as you learn how to propagate a string of hearts and care for baby spider plants.
Supplies Needed for Propagation
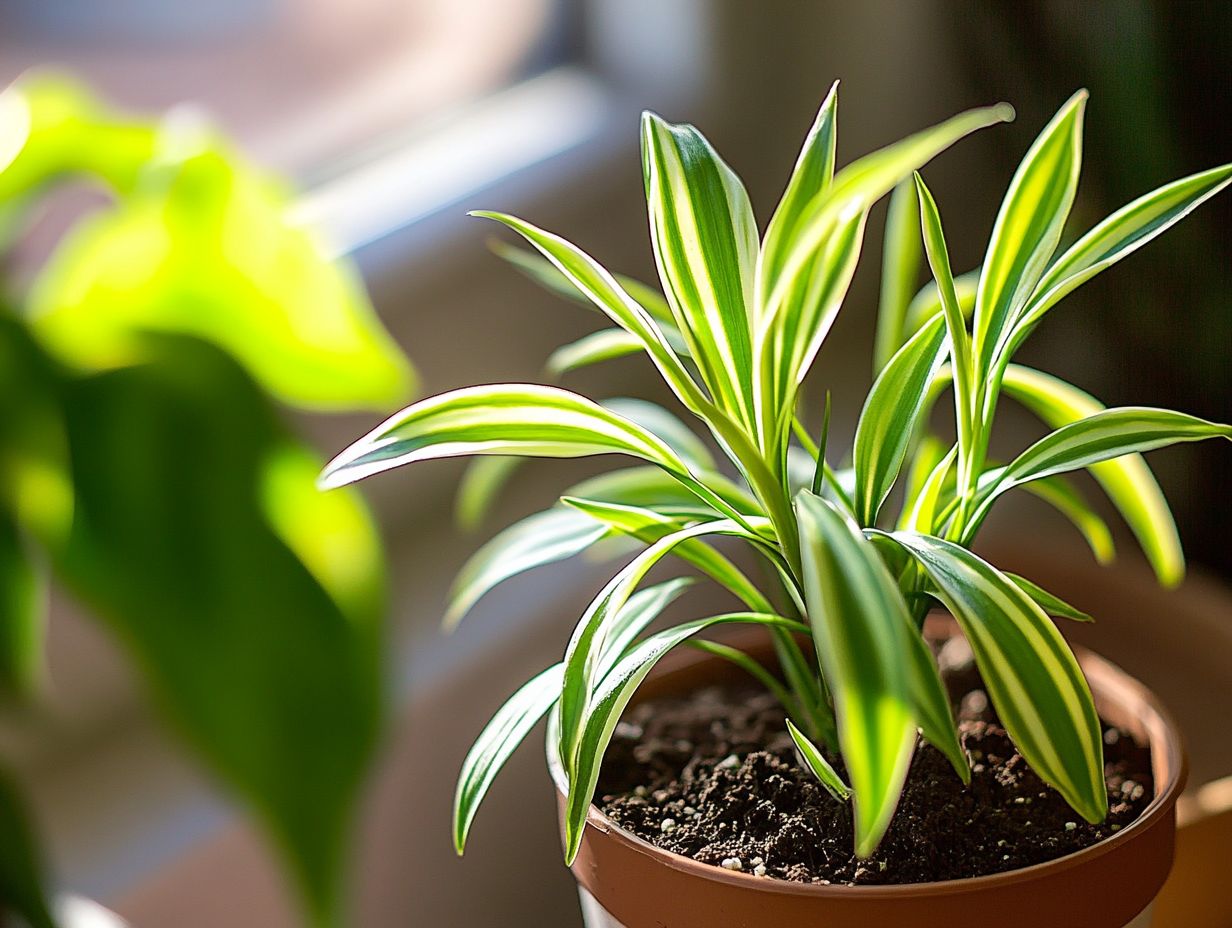
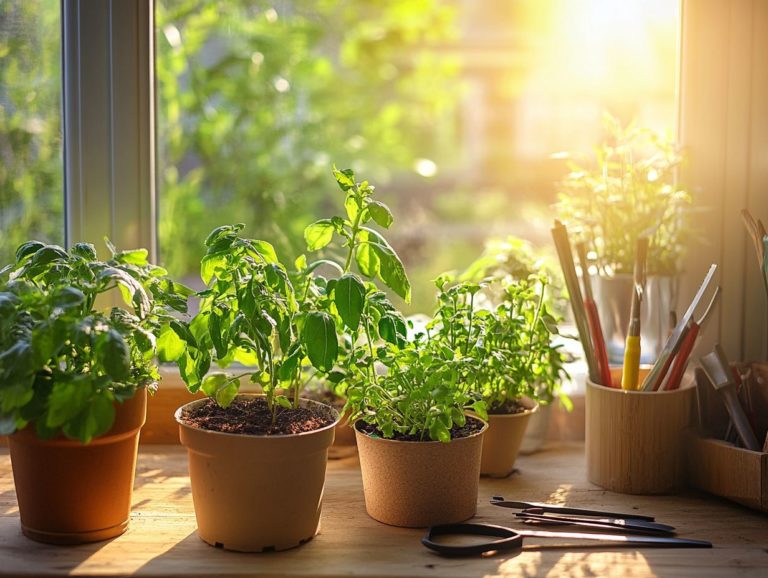
To successfully propagate spider plants, gather the right supplies to promote healthy growth and enhance your spider plant care routine. This typically involves a lightweight potting mix, suitable pots for planting, and essential tools like scissors to snip the runners from the parent plant.
By arming yourself with these materials and insights from gardening experts like Bonnie L. Grant and Mary H. Dyer, you can create the perfect environment for your plants to thrive.
Essential Tools and Materials
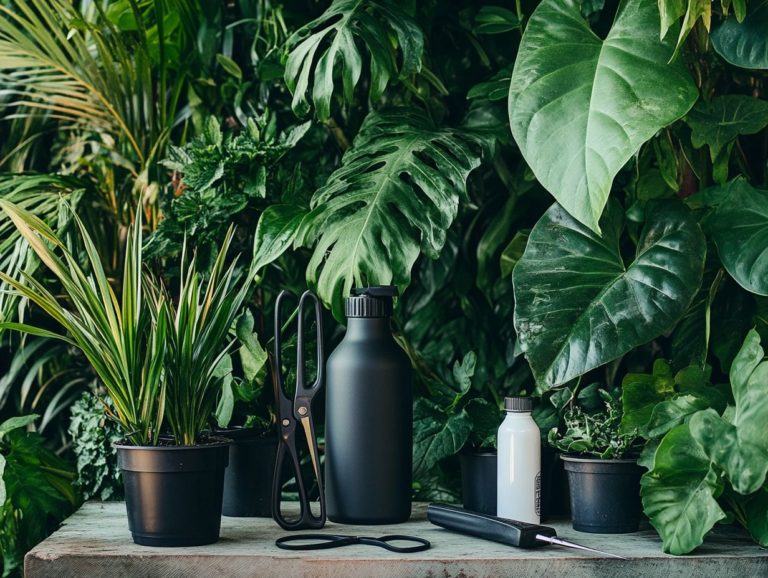
Having the right tools and materials is important for your successful spider plant propagation. This allows you to nurture your new plantlets with ease. Key items include:
- A lightweight potting mix that drains well
- Scissors for snipping those spider plant cuttings
- Appropriate containers that provide ample room for root growth
Keep a spray bottle on hand to maintain humidity around the cuttings. This ensures they don t dry out too quickly. Using rooting hormone, a substance that helps plants grow roots faster, can stimulate quicker root development. A trowel will help transfer your newly rooted cuttings into their pots without causing damage.
Consider labeling your containers to track growth stages and varieties. This can be particularly useful if you’re propagating multiple plants. Each of these tools plays a vital role in ensuring your propagation journey is smooth and successful.
Step-by-Step Guide to Propagating Spider Plants
This straightforward guide will lead you through the entire process of propagating spider plants. As you follow these clear instructions, you ll learn how to care for spider plant cuttings, monitor their growth, and ultimately enjoy a thriving indoor garden filled with lush greenery, including new baby plants from your efforts.
From choosing the perfect spiderettes to providing optimal growing conditions, each step is designed to make propagation effortless and satisfying.
Preparing the Plant and Cuttings
Preparing the plant and cuttings is your first crucial step in propagating spider plants. It requires careful attention to detail and the right growing conditions.
To ensure a healthy start, it s important to sterilize your cutting tool before making any incisions. This simple act helps prevent the transfer of pathogens. Once you ve snipped the runner connecting the spiderette to the parent plant, inspect the cut for any frayed edges. These can impede healing.
After preparing your spider plant cuttings, place them in a brightly lit location with optimal humidity. This encourages healthy new growth. Ideally, maintain a humidity level between 50-70% to support root development. Providing indirect sunlight will promote vigorous foliage without risking leaf burn.
By addressing these vital factors like humidity for spider plants and light conditions you re laying the groundwork for successful propagation.
Get excited! Start propagating your plants today and enjoy the rewarding journey of gardening.
Planting and Caring for Cuttings
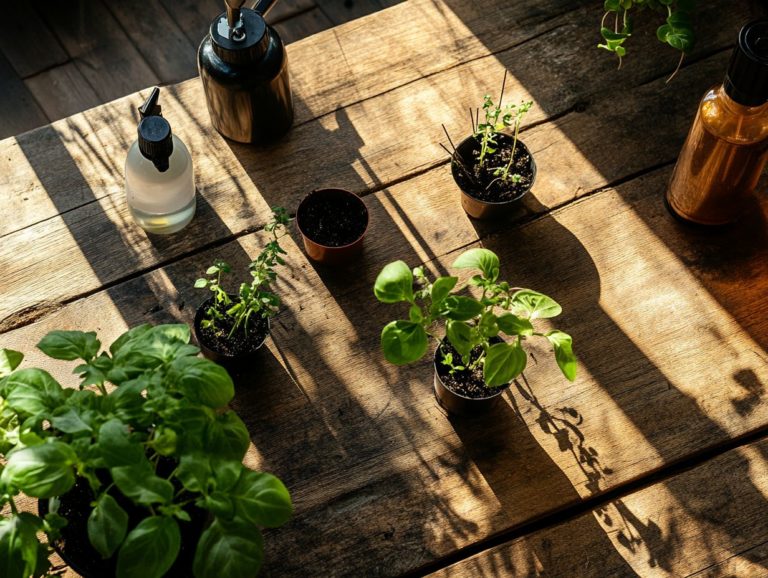
Once you’ve prepared your spider plant cuttings, the next step is to plant them with care to ensure best growth. Start by placing the cuttings in soil that allows water to pass through easily. Make sure the roots are adequately covered while leaving enough space for air circulation.
After planting, keep an eye on moisture levels. Regularly check to ensure the soil stays slightly moist but not soggy. This allows the spiderette roots to establish themselves healthily.
Aim for bright, indirect sunlight. Too much direct sunlight can scorch the delicate leaves. As your spiderettes grow, consider rotating them occasionally for even exposure to light.
Watch for common pests like spider mites and aphids. If you spot any, a simple wash with water or a mild insecticidal soap will help control these pests.
With attentive care covering the right spider plant watering techniques, optimal light conditions, and effective pest management you can keep those spider plant pests at bay. This will allow your spider plant to thrive and reward you with lush, vibrant foliage.
Troubleshooting Common Issues
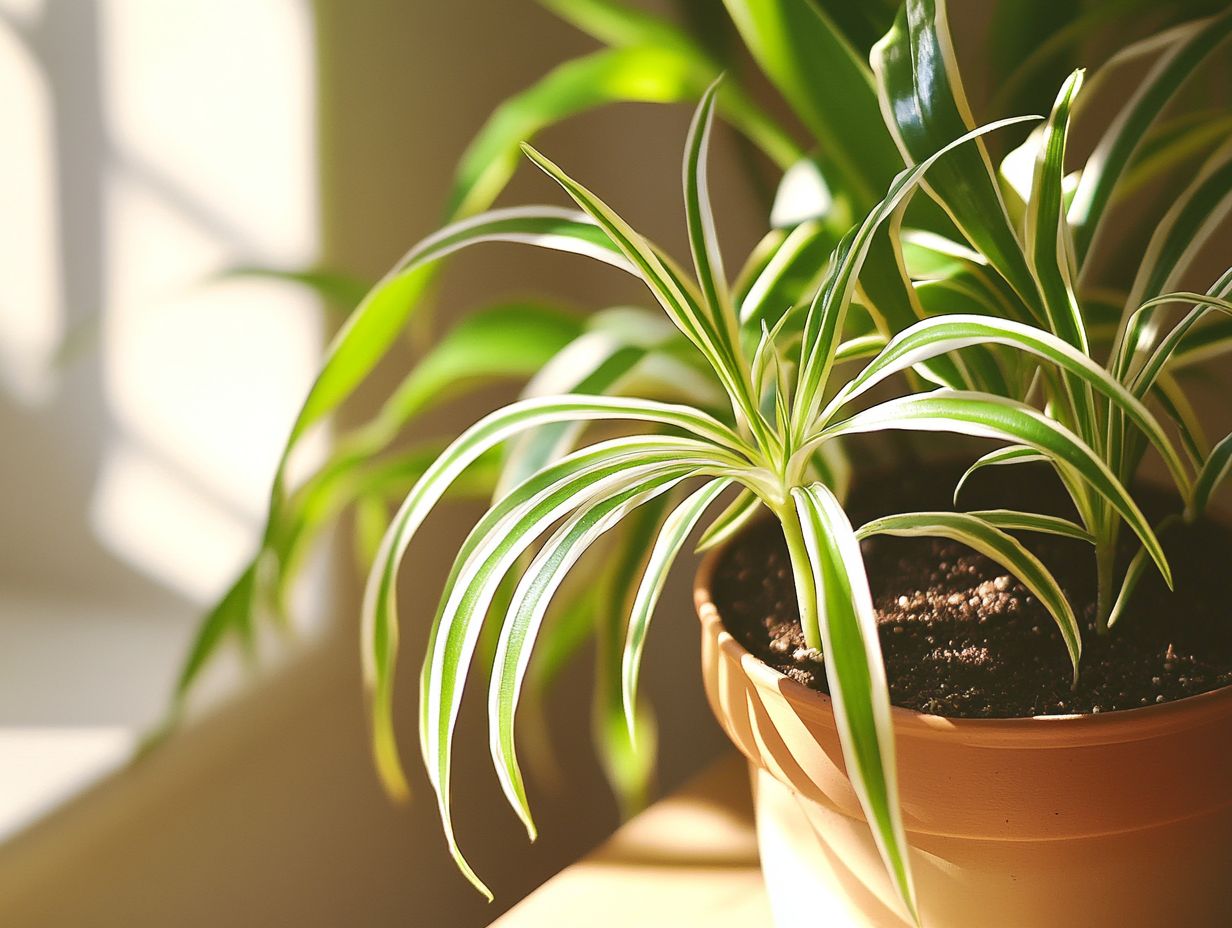
Troubleshooting common issues during spider plant propagation is crucial for creating an optimal environment where your new plantlets can flourish. By staying vigilant about potential challenges like root rot and pests, you can take proactive measures to ensure your spider plant care tips prove effective, keeping your plants healthy and disease-free.
Recognizing the signs of stress or illness in your spiderettes allows you to tackle these issues promptly. This cultivates a nurturing atmosphere that promotes robust growth.
Dealing with Root Rot
Root rot frequently plagues spider plants, especially when they find themselves in persistently wet conditions or nestled in poorly draining soil. This troublesome condition often stems from overwatering, which can lead to weak new growth and compromise the plant’s overall structure.
To fend off root rot, it s essential to utilize well-draining soil and adjust your watering practices, ensuring the soil has a chance to dry out between sessions.
When evaluating your spider plant’s health, keep an eye out for telltale signs of root rot. Yellowing leaves, wilting despite adequate moisture in the soil, and an unpleasant odor wafting from the roots are all red flags. Healthy roots should be firm and white, while rotting roots typically appear brown and mushy.
To sidestep these issues, prioritize proper soil drainage by selecting a pot with sufficient drainage holes and using a soil mix that encourages airflow. Establish a consistent watering routine that allows the top layer of soil to dry out before you reach for the watering can. This significantly lowers the risk of root rot.
Addressing Pests and Diseases
Addressing pests and diseases promptly is crucial for maintaining the health of your spider plants. Various pests can significantly impact their growth and vitality.
Among the most common challenges you may encounter are spider mites and aphids. These pests often present themselves as tiny, moving dots or clusters on your leaves. They not only diminish the aesthetic appeal of your plants but can also weaken them over time, leading to more serious complications.
For treatment, you have a range of options at your disposal, including insecticidal soaps and neem oil. Both are effective and gentle on the environment.
To prevent infestations, ensure good air circulation and avoid overwatering, as these practices help maintain plant hygiene. Regular check-ups and prompt action will cultivate a healthier and more vibrant spider plant, allowing it to thrive in your care.
Frequently Asked Questions
Wondering if you can propagate spider plants in water?
Yes, you can propagate spider plants in water by placing the cuttings in a container of water until roots develop.
What is the best time of year to propagate spider plants?
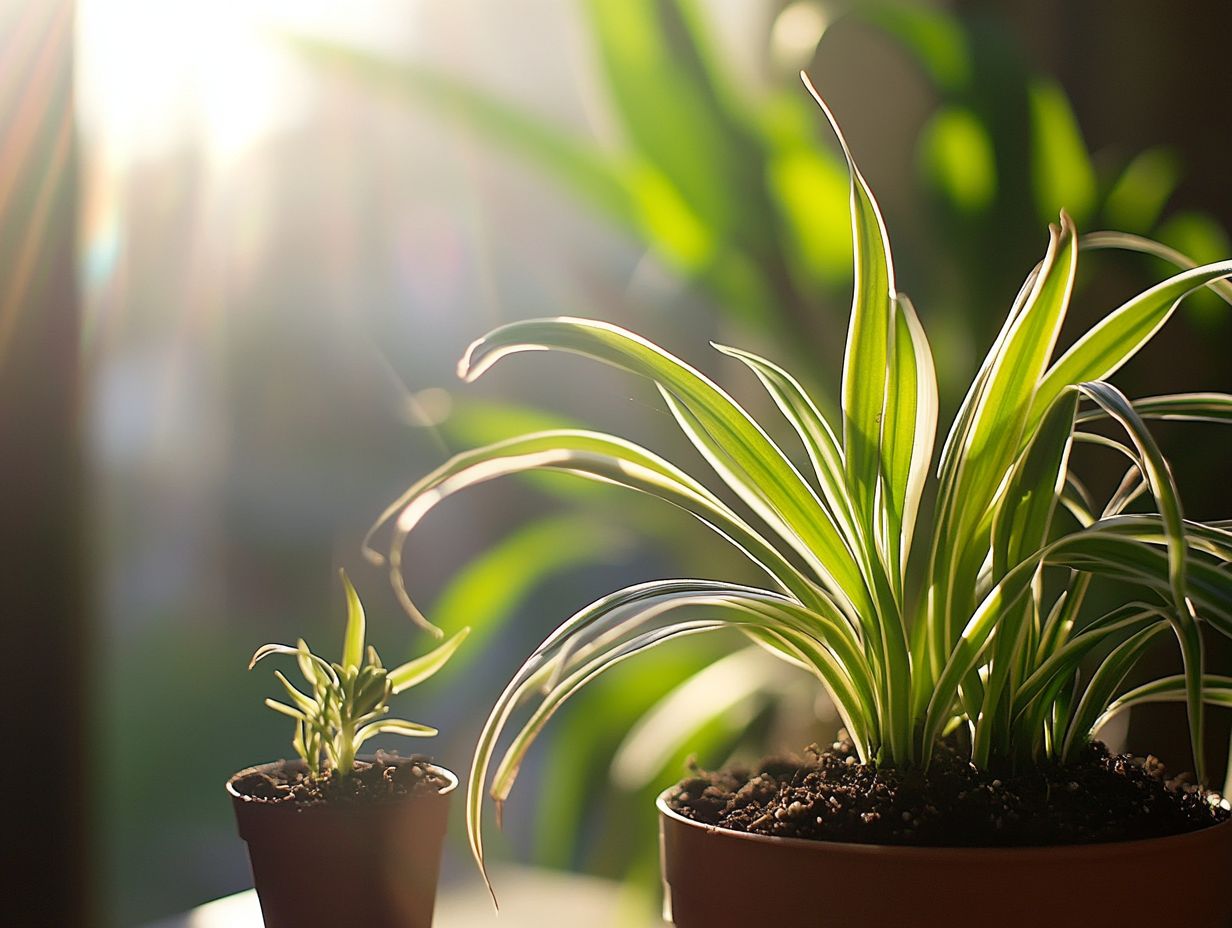
The best time to propagate spider plants is in spring or early summer. This is when the plant is actively growing.
Do I need to use rooting hormone when propagating spider plants?
You don t need rooting hormone for spider plants! They grow roots easily on their own.
How long does it take for spider plant cuttings to root?
It usually takes 2-3 weeks for spider plant cuttings to root in water.
Can I propagate spider plants from just one leaf?
No, spider plants need a stem with at least two small bumps, called nodes, to propagate successfully.
Can I use the same potting mix for propagating spider plants as I do for mature plants?
Yes, use the same well-draining potting mix for propagating spider plants. Using a smaller pot is recommended to prevent overwatering while the cuttings develop roots.

